This lesson will quickly go through how to set up a local development environment and install WordPress on it, so that we can start developing our theme. It’s for you who have never set up a development environment or installed WordPress locally for testing or development purposes. If you already have everything ready, skip ahead to part 1.
Setting up a web development stack is crucial and simpler than you might think. In short; it’s a program that installs a web server (usually Apache) and a database (usually MySQL) into your computer so that your computer is able to serve websites. It’s far quicker and simpler to develop and test your code “locally” in your computer than constantly uploading via FTP to a domain or server.
Edit: I have created an updated and more detailed guide in how to set up a local WordPress here!
Setting up a Local Development Environment
There are several free programs that allow you to set up your computer as a web server. The most common ones are WampServer for Windows and XAMPP or MAMP for Mac IOS. For Windows 64bit systems, make sure you install the 64bit version of WampServer. As for IOS I recommend XAMPP, but keep in mind that you most likely need to do some additional steps in order to change permissions of the development folder (which is needed for WordPress to install plugins and more).

Download the software (links above) and run the installer. You don’t need to provide any details, it should as default install Apache web server and MySQL database and should work fine without any changes. After it’s done, open the program. Usually it will initiate launching an Apache and a SQL server when you start the program, otherwise there should be a link to “Start all services”.
While your program is running you should be able to go to your browser, type in localhost, and see the welcome page for that program. Keep in mind that you need this program to run in the background, running all the services, while you are developing.
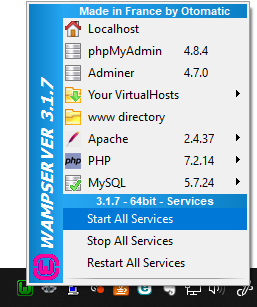
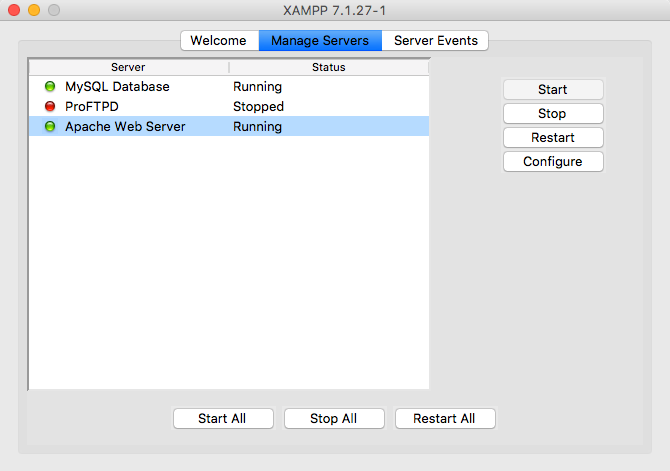
In WampServer you can click at the icon in the taskbar and choose “Start all services” in the flyout menu. In XAMPP the program has a button for it in its main interface.
The program will provide you a dedicated folder where you can place your web development files. For WampServer the default directory is the subfolder www inside the program installation directory; for example C:\wamp64\www\. For XAMPP on IOS you’ll find a shortcut to the folder htdocs inside Programs > XAMPP > htdocs. This folder is where you can place any php or web files and access them through your browser and it’s also where you’ll place all WordPress files.
Installing WordPress
Installing WordPress is really easy! Go to WordPress.org’s download page and click the big blue button to download. You’ll get a zip file with the current version of WordPress, in English.
I recommend that you make a subfolder in your local development folder for WordPress (in case you want to do multiple web development projects, or multiple WordPresses). For the purposes of this tutorial I created a subfolder called wordpress, so my path to it is C:\wamp64\www\wordpress\ (to access this folder I would need to go to localhost/wordpress in my browser).
1. Extract the zip contents of your downloaded WordPress into the desired place in your development environment.
Secondly, you will need to create a database in your local SQL, so WordPress can install everything in it. Usually you can use PHPMyAdmin (Is installed as default with WampServer and XAMPP). To access PHPMyAdmin, navigate to localhost/phpmyadmin in your browser. You should see a login page. As default the user is root and the password is empty.

Depending on which version of PHPMyAdmin you got installed, you should easily find some links to install a new database; for instance “New” in top of left sidebar. Decide a database name for your WordPress installation (I recommend you use the same name as your folder; e.g. wordpress or something a little more telling). As for collation type (the dropdown) I recommend using “utf8_general_ci” (you’ll need to scroll down quite a bit to find it). Hit OK, and you can just close the PHPMyAdmin tab. WordPress will take care of the rest for you.
2. Log into your database with PHPMyAdmin, and create a new database with your chosen database name and utf8 as collation type.
The final step is to run the WordPress installer that does the rest for you.
3. In your browser navigate to localhost/wordpress (or wherever you extracted WordPress into). The WordPress installer should appear and guide you through installation of WordPress.
The installation guide will request that you enter your database name (enter the one you created above), your SQL username and password (default “root” and empty password). For everything else, you can leave as default, or set your desired variables such as the name of your site, and define your login credentials.
When WordPress installation guide is done, you should now have a complete WordPress installed locally! Visiting localhost/wordpress should give you your frontpage and visiting localhost/wordpress/wp-admin should give you your admin panel.
You are now ready to start developing your WordPress theme! Jump right into Part 1: Introduction.