Any WordPress developer should be able to develop on a local webserver. It’s quick and direct way to see your code in action. In this post I’ll go through installing and setting up a webserver application on your computer (both Windows and MacOS), including how to solve the problems that may come with.
There are many solutions to go about setting up a local webserver, for instance using Docker, Vagrant, or a simple web server application. The last is definitely the simplest. This post will go through the process of setting up WampServer for Windows and XAMPP for MacOS. Jump to the operating system for your computer:
Installing WampServer on Windows
Installing a webserver for Windows is pretty straightforward. It’s mostly about following the setup wizard, so I won’t go into much detail here.
The first step is downloading the webserver application. Click the link to go to WampServer‘s webpage and click “Download” in the menu.
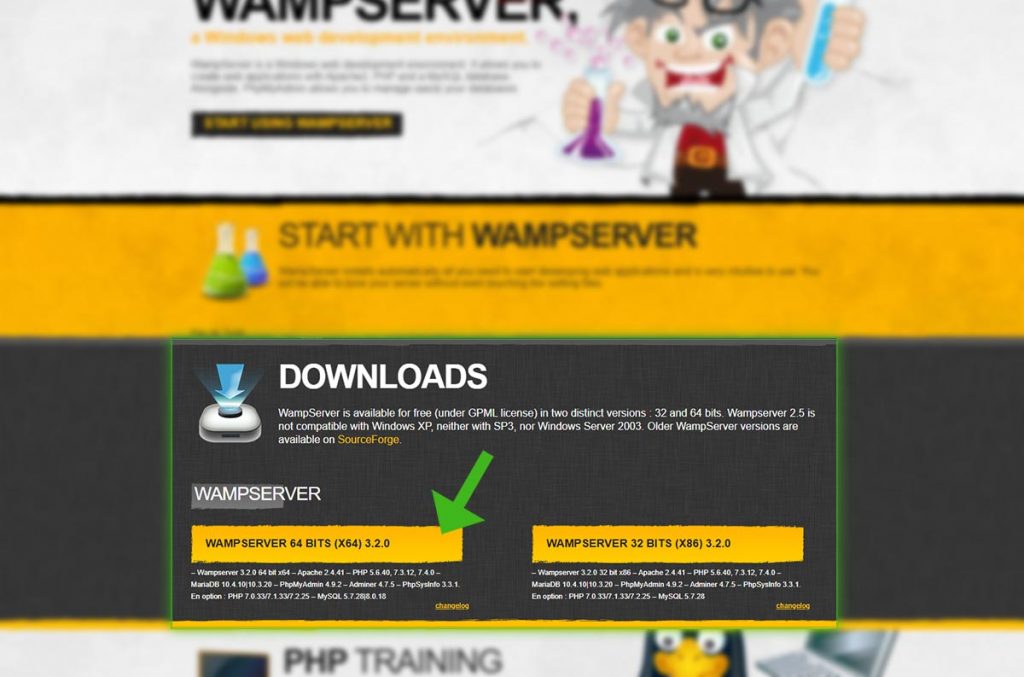
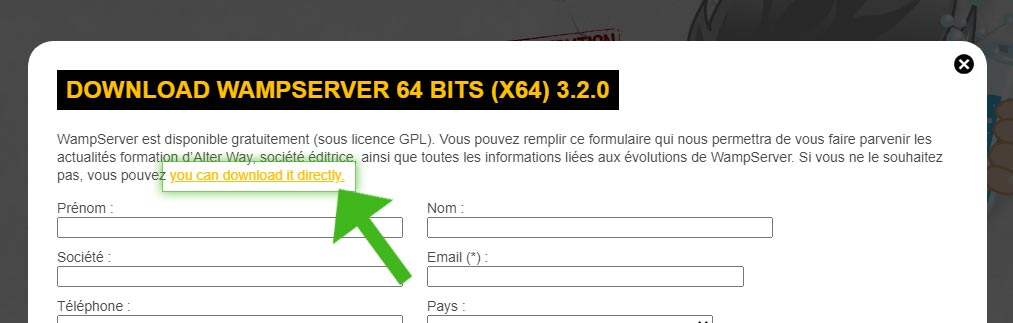
You have the choice to install either a 64bit or a 32bit. Most computers today support 64bit, so I’d go for that. Upon clicking the download button a form will pop up, but you can simply click on the link in the top that says “you can download it directly”. This will take you to the actual download.
After the file has been downloaded, click the .exe-file to start the installation. Follow the setup process. Keep in mind that the location you choose to install WampServer in, is where you will need to place your WordPress files and any other website projects you might want to do. If it asks you for your default browser, select the browser program (normally located in a subfolder in C:\Program Files (x86)\).
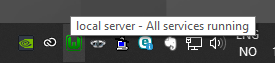
When the installation is finished and WampServer is started, it will appear in the Windows systray (the right side of the task bar, by the clock).
When the icon is green, WampServer is running the webserver successfully. When it’s orange or red the server is offline. Click on the WampServer icon in the tray to configure and start/restart/stop services.
To test if the webserver works, open up your browser and go to http://localhost/. You should see WampServer’s homepage.
Where do I put the web project/WordPress files?
For WampServer the folder for your web project files will be in the subfolder ‘www‘ inside the WampServer installation. During the setup you were asked to decide the installation folder. By default this is C:\wamp64 (if 64bit), which means you will place WordPress files and any other web project files inside C:\wamp64\www\.
If you has successfully started the web server skip right ahead to “Installing WordPress“! If something went wrong, take a look at the section titled “Possible problems and fixes for WampServer” to attempt to solve the problem.
Installing XAMPP on MacOS X
Setting up a webserver and get WordPress to work properly on a MacOS is definitely a challenge. After I’ve been doing it a couple times I’ve found the process with the least steps and the best result.
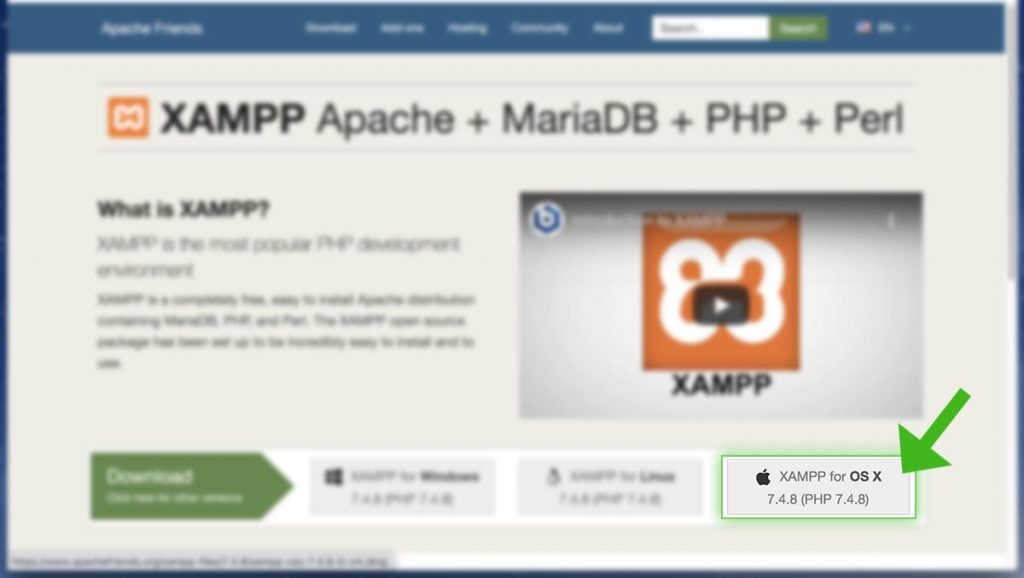
Go to XAMPP‘s website and find the big green Download area. Click on “XAMPP for OS X”.
Follow the setup guide, and when asked, drag the icon to the Applications folder. Click Open in dialogs that ask if you are sure to open the application downloaded from the internet. When the setup is done start the XAMPP app from Launcher.
When XAMPP starts up for the first time, you’ll need to click the button “Start”.

After a while the indicator should turn from red to green and you should see your IP appear. At this point the webserver and database server is up and running at the provided IP address. But we want to use a nice localhost URL instead of the IP. Click the tab “Network” and on the line “localhost:8080” click the button Enable.

After this line turns green, open up the URL http://localhost:8080/ in your browser. You should see XAMPP’s welcome page. This means the web server is up and running.
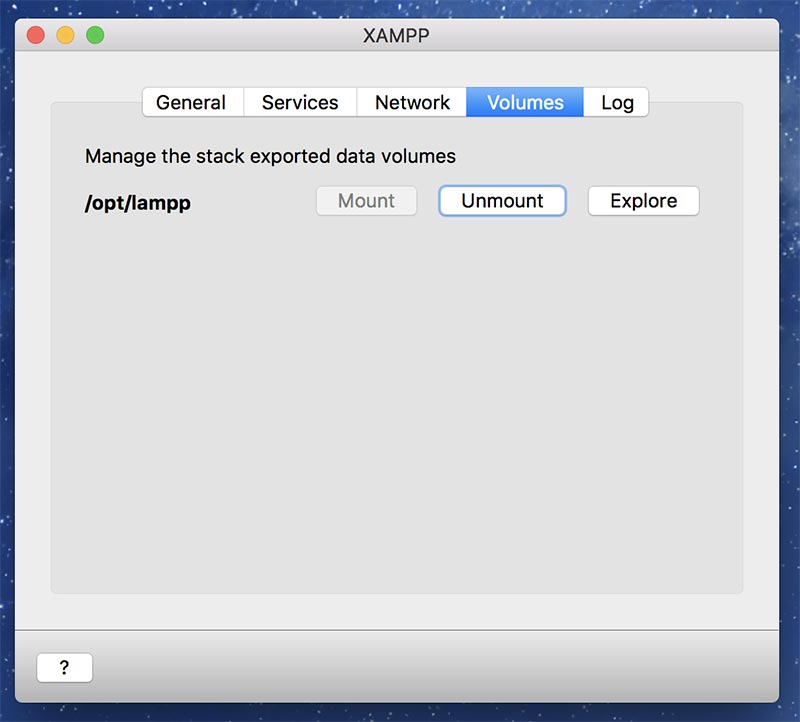
In order to gain access to the web project folder where you will place WordPress and any other project files, you need to go to the tab Volumes in XAMPP. Click the button “Mount”.
XAMPP should now be running the web server and MySQL database server successfully, ready for you to install WordPress. Follow the steps below for installing WordPress since there are several additional steps required to make XAMPP work properly.
Where do I put the web project/WordPress files?
For XAMPP the folder for your web project files will be in the subfolder ‘htdocs‘ inside the XAMPP application folder. You can open up this folder directly from inside the XAMPP app > Volumes > Explore. This opens up Finder showing the parent directory, and you will find the folder ‘htdocs‘ there.
The folder is located at /Users/<youruser>/.bitnami/stackman/machines/xampp/volumes/root/htdocs where you replace <youruser> with your Mac username. I suggest dragging the htdocs folder into your Favorites to avoid manually navigating this path over and over again!
Installing WordPress (both WampServer and XAMPP)
Go to the WordPress download page and click the blue download button. It should give you a zip-file that upon extracting will create a folder “wordpress” with all the files to make WordPress work.
Move the downloaded zip file to the www folder (for WampServer) / htdocs folder (for XAMPP). Unzip the downloaded zip file. When it’s finished unzipping you should have a subfolder “wordpress” inside your webserver folder. This means WordPress will be accessible from the URL http://localhost/wordpress/ (for WampServer) / http://localhost:8080/wordpress/ for (XAMPP). However you can rename the folder if you’d like.
The next step is creating a database for WordPress. Both WampServer and XAMPP automatically installs phpMyAdmin for you to access the databases. For WampServer: Click the WampServer icon in the systray and click “phpMyAdmin” or go til the URL http://localhost/phpmyadmin. For XAMPP: Access phpMyAdmin by either going to the url http://localhost:8080/phpmyadmin or by clicking “phpMyAdmin” menu item to the upper right in XAMPP’s welcome page at http://localhost:8080. Log in with username ‘root’ and empty password (both webservers).
In the sidebar to the left click “New” to create a new database. Enter your desired database (for example “wordpress”) and database collation (utf8_general_ci is a good choice).

After the database has been created you can close phpMyAdmin. The next step is setting up WordPress’ config file.
Navigate to your WordPress folder. Make a copy of the file wp-config-sample.php and rename the copy to wp-config.php. Open wp-config.php and edit the following lines (assuming your database name is ‘wordpress‘);
define( 'DB_NAME', 'wordpress' );define( 'DB_USER', 'root' );define( 'DB_PASSWORD', '' );
Leave the rest as is, save and close the file.
In your browser navigate to http://localhost/wordpress/ (WampServer) / http://localhost:8080/wordpress/ (XAMPP) – or whatever folder you unzipped WordPress in. You should be greeted with WordPress Setup screen. Follow the steps to configure your WordPress installation.
For Windows/WampServer users you have now successfully installed WordPress! If you do encounter problems take a look at the section “Possible problems and fixes for WampServer“.
For MaxOS/XAMPP users there are unfortunately some additional steps to make WordPress work properly – please proceed to the next step.
Fixing problems running WordPress on XAMPP
Installation of plugins/themes is asking for FTP information
If you try to install a plugin you might get this dialog asking about FTP credentials:
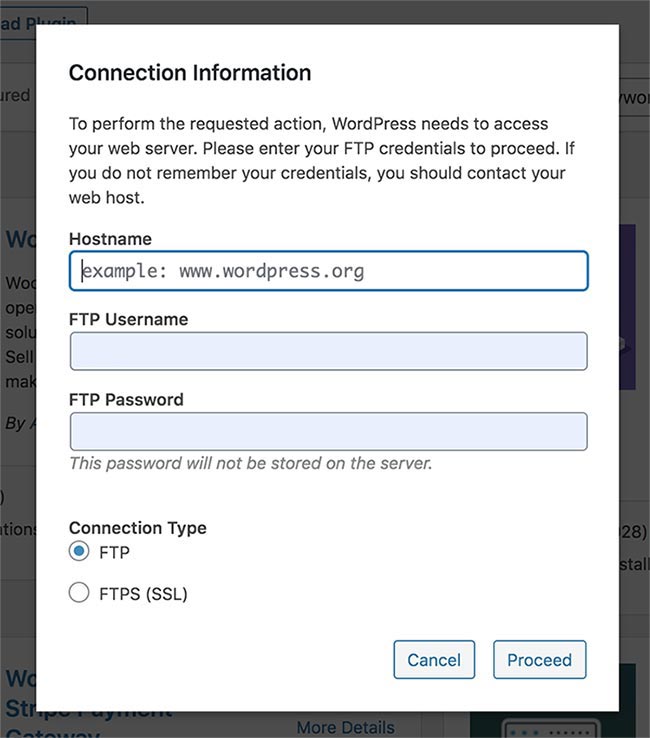
The solution I’ve found that resolves this is editing your wp-config.php file. Right after the WP_DEBUG definition add this line
define( 'FS_METHOD', 'direct' );
Save and close the wp-config.php file. WordPress will no longer ask for FTP information, but plugins can still not be installed. You will most likely get “Installation failed. Could not create directory”. This happens because of wrong ownership and permissions to the files and folders.
Installation of plugins/themes fail with “Could not create directory”
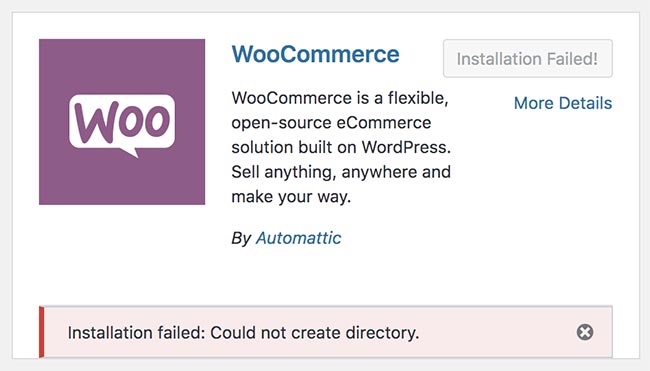
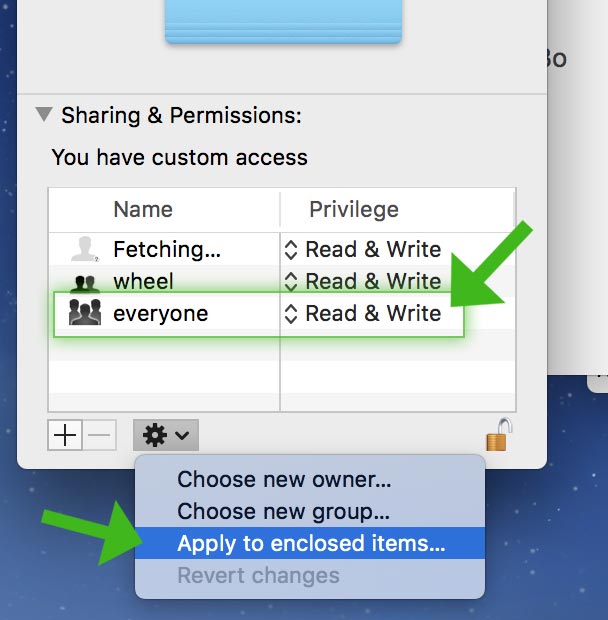
To fix this open up Finder, right click your htdocs folder and click “Get Info”. In the bottom of the window, click to expand “Sharing & Permissions”. Click the padlock icon and enter your admin password to get access to change the settings. On “Everyone” set the permission to “Read & Write”. Then click the Cog-icon and choose “Apply to enclosed items…”. Click OK in the dialog.
The final step is changing permissions on the files and folders using chmod. Open up terminal (Command + Spacebar, type “terminal” and click Enter). At the prompt write “cd ” (including a space after) and then drag the Finder htdocs folder into the terminal window and click Enter. Otherwise you will need to type out the full path to the htdocs folder (see gray box above). Once inside the htdocs folder, type out this command and click Enter:
sudo chmod -R 0777 *
If asked for your admin password, type this in and click Enter. The prompt should stay a while and suddenly refresh to a new prompt when it’s finished.
Refresh your WordPress admin page and you should now be able to use WordPress as usual!
Possible problems and fixes for WampServer
The WampServer icon in systray is orange and never turns green
Try out http://localhost/ in a browser anyway. If it works, it probably means WampServer is set up with more services than you need. You need only Apache (web server) and MySQL (database). I have experienced that WampServer by default also attempts to start MariaDB (another database service). But because it can’t start MariaDB, the icon stays orange – even though Apache and MySQL is running. If that’s the case remove the MariaDB service.
Localhost is not working
Unfortunately there can be many reasons for this. I would start by checking if both Apache and MySQL service is running at all. Click the WampServer icon in the tray > Apache > Service administration. If the “Start/resume service” is green and clickable that means Apache is not currently running.
If Apache is not running, try to click “Install service” within that same menu. You should get a command prompt that either shows it successfully set up Apache, or you might get a prompt as to why it’s not working.
In most cases Apache cannot start because port 80 is occupied by some other program. Check if you have Skype installed. Google how to configure Skype to not occupy the port 80 and try WampServer again.
Pretty permalinks don’t work in WordPress
Custom (pretty) permalinks in WordPress requires the module “rewrite_module” to be installed on your webserver. Click on the WampServer icon in the tray > Apache > Apache modules – and in the long list find and click on “rewrite_module“. WampServer will install the module and restart the Apache webserver automatically.
My max upload size in Media Library is just 2 MB
By default WampServer sets max file upload size to 2 Mb. This is often too small to upload larger images in the Media Library. To fix that we need to change Apache’s php.ini file. Click on the WampServer icon > PHP > php.ini. It should open up the file in your default text editing program.
Search for “upload_max_filesize” and increase the M value (Mb) into something like this:
upload_max_filesize = 50M
I also recommending changing one more thing. Search for “post_max_size”. Increase the M value (Mb) so the line so it looks something like this:
post_max_size = 50M
Close the file and restart Apache.