
In this lesson you will start learning how WordPress loads content depending on which page you’re at, and the hierarchy of theme template files. You will also learn what’s needed for a valid theme. And at the end we will finally create our theme and activate it.
Theme template files
Behind the hood, WordPress figures out which template to load based on the URL you are at. If your WordPress is installed at the domain “example.com/wordpress/” you should see the frontpage template. Going to “example.com/wordpress/category/news/” will as default give you a list of posts assigned the News category using a category template.
WordPress follows a hierarchy of which template to load, and which it chooses depends on which templates you have available in your theme. For example “example.com/wordpress/category/news” WordPress will first look for a template specific for the category “news”. If it was not found, WordPress will look for a template specific for category ID. Again, if that was not found, WordPress looks for the general category template. If that was not found WordPress will look for an even more general template for archives. And so on and so forth.
WordPress Codex, which is WordPress’ documentation site, keeps a useful and updated image illustrating the hierarchy of theme template files; https://codex.wordpress.org/File:Template_Hierarchy.png#file
The way you read the image is by going from left towards the right. Based on what page you are at the templates are very specific, and the more you progress towards the right side the more general the templates become. The final fallback is the rightmost one; index.php, which will be loaded if no other fitting templates were found.
All the template files listed in the image above need to reside in the root folder of your theme, and be named precisely as stated. You can’t place your templates in subfolders for organizational purposes because then WordPress won’t be able to find them!
We will start simple! Today we will create the only few files required for WordPress to recognize it as a theme, and then expand from there.
Anatomy of a WordPress Theme
You need only two files to make a valid WordPress theme.
In the illustration of template hierarchy, did you notice the very far right one; called index.php? This is the final fallback template if WordPress fails to find any template. That’s one of the files required. The other file is a stylesheet file (.css). It doesn’t necessarily need to have any CSS in it, but it needs to contain a comment block that provides WordPress information about your theme. Those two things are all you need for a valid WordPress theme.
Let’s create our theme by creating these two files!
Creating your first theme
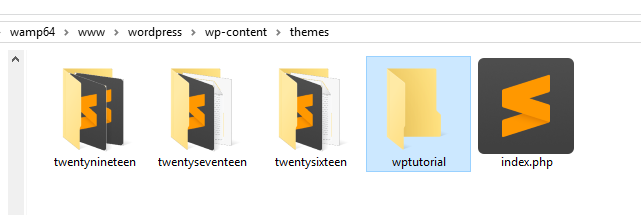
All themes need to be in each their separate folders inside the subfolder /wp-content/themes/. If you navigate to this folder in your file navigator you will probably already see a few theme folders here; twentynineteen, twentyseventeen, etc. Those are themes that comes included with WordPress as default.
In /wp-content/themes/, make a new folder. Name it appropriately (lowercase, no spaces, not the same as any other folder). Usually the folder name is a slug-version of your theme’s name. For this tutorial, I will name my theme folder “wptutorial“.
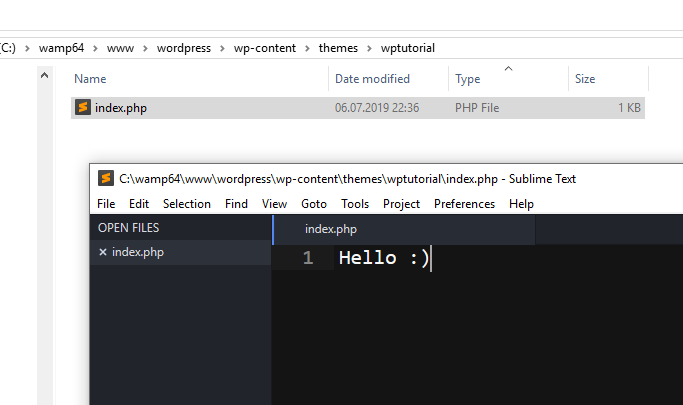
Enter your theme folder, and create a new, empty file named index.php. I edited the file and just added some random text, so we can easier see when it’s in use:
We’re already halfway there! Let’s create the second required file. Inside your theme folder create a new, empty file named style.css.
Open the style.css file and immidiately start a comment block (/* and close it with */). Inside this comment block we need to follow some WordPress rules in how to define our theme. As minimum we need to define the name of our theme. But we can also add information about who the author is, homepage, version number, license information and much more. See WordPress documentation on what you can add.
In this tutorial we will keep it simple; we will add the theme name and you will write your own name as author. You can go ahead and use whatever name(s) you’d like, this is what I have entered in my style.css:
style.css
/*
Theme Name: A White Pixel Theme
Author: Alex White
*/
Save and close the file (this tutorial won’t touch this file again), unless you want to write CSS for your theme as you go along.
Congratulations! You have now created a valid WordPress theme!
Activating your theme
Let’s go into WordPress admin panel and navigate to “Appearance > Themes”, and see if we can find our theme there.
Click the Activate button and visit your site. You should see whatever you wrote in index.php!
This index.php template will be used regardless of which page you are at. Try to view a single post, and you will see the same. A theme should have at the very minimum 5-10 templates to handle different content. Don’t worry, we’ll get there.
Awesome, we have a theme! In the next lesson we will start actually coding in it and make it do stuff.