This lesson of the WordPress theme tutorial for beginners will teach you how to structure the main building blocks of a theme and start creating templates. We will start creating some HTML output and how to include the building blocks in our theme’s templates. In the previous step we set up the bare minimum of a WordPress theme and activated it. But as of right now it’s not doing very much, and doesn’t even contain valid HTML for a web page. Let’s fix that.
Header and footer (& sidebar) building blocks
In our template files we need valid HTML. We could write the complete HTML structure (starting with <html>, <head> and full <body>) in index.php, but this becomes impractical when maintaining multiple template files in your theme. Imagine having created a bunch of templates, and then realize you need a small change in the header part; you would then need to edit all templates so they stay consistent. This is not smart.

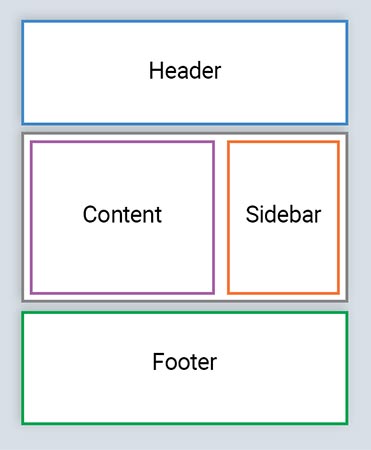
The solution is to divide the full HTML structure into sensible parts; building blocks. Each block reside in their own file, and whenever we need them in a template, we include them. The most common and sensible blocks are one for header, one for footer and one for content, but if your theme features a sidebar, the sidebar should be a separate building as well.
Those of you who are more familiar with PHP are probably familiar with the methods include() or require(). This is precisely what we will do, however we will use WordPress’ functions for including other files since they come with added benefits.
In this lesson we will create the header, footer and sidebar as building blocks. Sidebars have however become less and less common in web pages, but we will still implement a right sidebar in our theme. These three buildings blocks are common practice in all WordPress themes – and it’s actually so common that WordPress offers automation for those three things.
Creating the header, footer and sidebar templates
Let’s create a new empty file named header.php in our theme folder. We’ll add some very basic HTML for now (don’t worry, we’ll add more proper HTML later on).
header.php
<!DOCTYPE html>
<html>
	<head>
	    <meta charset="utf-8">
	    <title>A White Pixel Theme</title>
	</head>
<body>
Create a new file named footer.php in your theme directory. All we need (for now) in this file is the closing of our HTML structure.
footer.php
	</body>
</html>
And finally, create a new empty file named sidebar.php. We add just the HTML tag <aside> inside.
sidebar.php
<aside class="sidebar">
</aside>
Including the building blocks
Let’s return to our index.php file. All we need to do now is to tell WordPress where we want to include the header and footer file. Obviously we want to load the header at the very beginning and the footer at the very end of this file.
WordPress offers simple functions for including these building blocks; get_header() and get_footer() for the header and footer file, respectively. Pretty intuitive right? Let’s add those in our index.php and see what happens.
index.php
<?php get_header(); ?>
Hello :)
<?php get_footer(); ?>
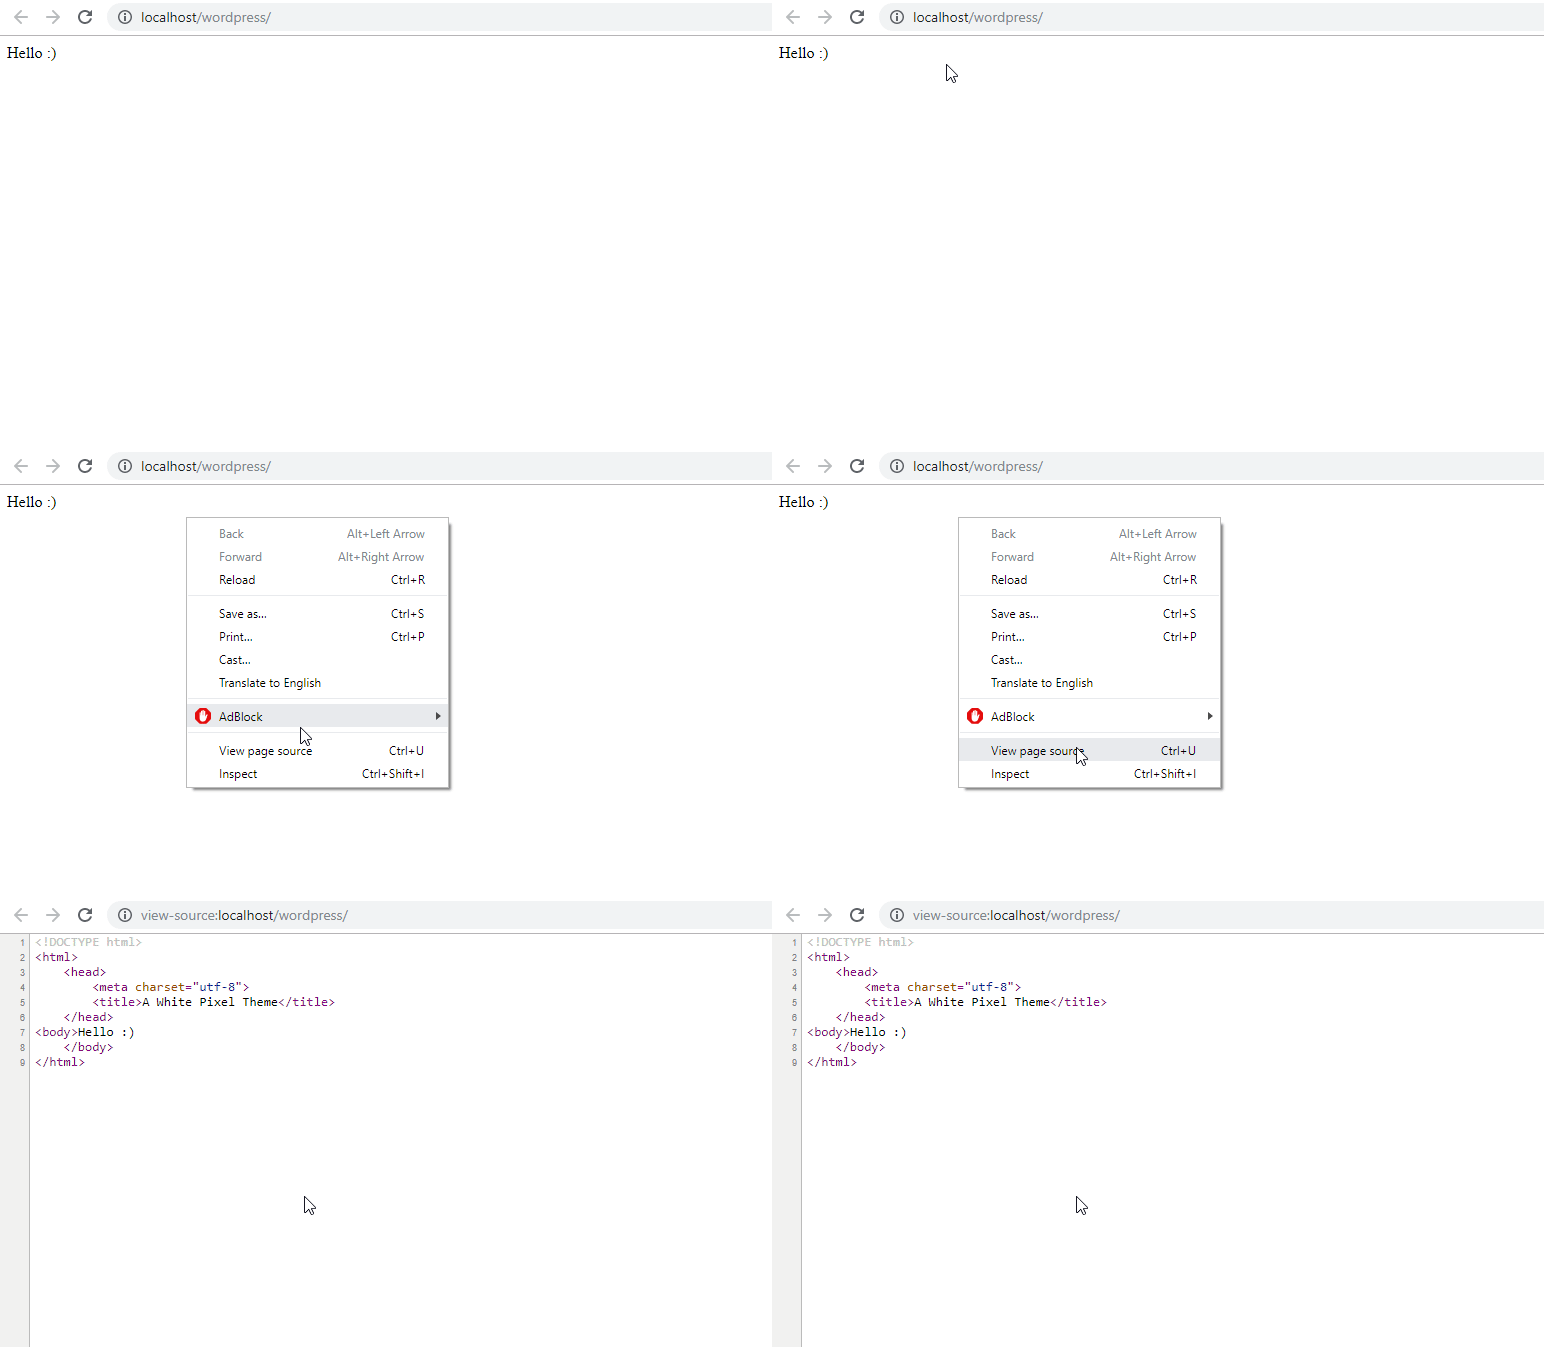
Refresh your frontend and inspect or view the HTML source to see that we have combined multiple building blocks into making a complete HTML structure.

Now you are free to edit the content of index.php independently from the header and footer!
Let’s include the sidebar as well. Keep in mind that in your theme you might want to consider cases and templates where you don’t want the sidebar, for example the frontpage.
Including the sidebar is just as easy as the header and footer; for this we use get_sidebar(). Let’s add that to index.php, right before getting the footer.
index.php
<?php get_header(); ?>
Hello :)
<?php get_sidebar(); ?>
<?php get_footer(); ?>
Refresh and you should see the HTML source including our <aside>. Don’t worry, in a later step we learn how to convert it into an actual sidebar area where you can place widgets in.
Our theme is pretty static right now. In the next lesson in this WordPress theme tutorial series we will finally start diving properly into WordPress functions in order to load content and information from WordPress dynamically in our templates.