In this part we will write Javascript to register and configure our custom block. At the end we’ll register the script with PHP and do the necessary PHP code for WordPress to recognize it as a new block.
First a quick note about how to access WordPress Gutenberg’s functions and components.
The global wp package and destructuring
When we’re in a Javascript file enqueued in Gutenberg editor we have access to a global object/package: wp. This is a very, vary large Javascript object and it contains a whole bunch of useful components and functions we will use for creating blocks. When writing Javascript for custom blocks you will refer to wp quite a lot.
Therefore it’s common, both in modern Javascript and in React, to destructure what we want to use out of it. Basically it just means that we define local variables out of parts of a bigger structure. For example the first function we’ll use is registerBlockType() that exists within wp.blocks. We could invoke the function like so:
wp.blocks.registerBlockType();
But it’s easier to destructure it like so:
const { registerBlockType } = wp.blocks;
registerBlockType();
Now you can refer to the function directly without prefixing it with its structure. It gets much more useful when we refer to functions or components we will repeat often.
We will do restructuring in this series, and as we advance in the tutorial we’ll see how much more readable and shorter our code gets.
Registering a new block
The function for registering a new custom block is registerBlockType() available in the wp.blocks package. It accepts two parameters; first a string with the block namespace and name, and secondly an object with the full block configuration.
Gutenberg expects all blocks to have a namespace and a name, defined with a slash inbetween. The namespace is to ensure your block name won’t conflict with any other blocks that might use the same name. All blocks in WordPress use the namespace core. For example the standard paragraph block in WordPress has the name core/paragraph. If you choose another namespace you can also create a block named paragraph without causing any problems.
Decide a slug-version namespace that’s unique for you. I will use the namespace awp (short version of A White Pixel) in this series.
Open up the source file we created in the last step; src/block-awhitepixel-myfirstblock.js, in an editor. First we’ll call registerBlockType from destructured wp.blocks, with the name awp/firstblock. Adjust your name and namespace as you go.
block-awhitepixel-myfirstblock.js
const { registerBlockType } = wp.blocks;

registerBlockType('awp/firstblock', {
	// Your block configuration and code here
});
In the second parameter, the block configuration object, we need to define a few properties in order for it to be registered successfully. Remember that the block configuration is an object, which means you need to write everything as key + value pairs, separated by comma. There’s quite a few possible configuration properties so let’s go through these and we’ll see the final code at the end.
Required: title
The first required property is title. This is the name as it’ll appear when you select between blocks. Set this property as any name you’d like in a string.
We’ll add the following as a title:
title: 'My first block',
Required: category
The property category defines where in which block category your block will appear when you select blocks for insertion in the editor. Possible values are common, formatting, layout, widgets, embed.
Let’s put it in common, the first block category.
category: 'common',
Optional: icon
If you’ve used Gutenberg, you’ve probably noticed that all blocks has icons. You can add an icon to your block with either a string that refers to any of WordPress’ Dashicons, or you can provide a custom svg element.
I’ll just pick one of WordPress’ dashicons, the smiley – but you can pick any you want. Note that you skip including “dashicons-” in your icon classname.
icon: 'smiley',
Optional: description
You can provide a description that will be displayed in the Settings sidebar (on the right hand side) when the block is active.
I’ll just add a quick text as an example:
description: 'Learning in progress',
Optional: keywords
Gutenberg supports a search functionality when choosing block types. You can provide an array of possible matches in the property keywords. Without keywords you would only find your block by searching for its name.
I’ll add example and test, so that we can easily find our custom block when starting to type one of these keywords.
keywords: ['example', 'test'],
Optional: attributes
The property attributes is a very important property that we’ll revisit quite often in this tutorial series. This is where you store your structured data and user-input information for your block. You can imagine it as variables. We won’t add it for now, but we’ll definitely come back to this pretty soon.
(Kind of) required: edit and optional: save
Within edit and save properties is actually where you’ll add all your code for both editor output and frontend render. Both of these properties expects a function that should return some output.
The property edit describes the structure of your block within the editor. The save property basically handles two things; your block output in frontend, but also the structure of how your block is saved in the database. You will work mostly in edit as this is where you add inputs for entering or choosing things, and updating the block’s data. The save function should not update or edit the data in any way, it should just output.
Gutenberg needs to be able to re-construct your block with all its settings in the editor from what is output in the save function (and attributes). If Gutenberg ever opens up a post where the previously saved block output differs (even just slightly) from what is defined in save, your block will become invalid.

I can guarantee you that you will encounter this a lot while developing custom blocks. When this happens you need to remove the block (from the dots in the toolbar) and re-add it. I recommend also doing a browser refresh (F5 or CTRL+R).
WordPress has a dedicated documentation page for the block’s edit and save functions if you want to learn more.
As for our first block, let’s output something basic. We’ll return the same for both edit and save; a “:)” wrapped in <div>. The block’s icon is a smiley after all.
edit: () => {
	return <div>:)</div>
},
save: () => {
	return <div>:)</div>
}
Other properties
There are a more optional properties for registerBlockType; parent, supports, transforms, example, and styles. We’ll skip these for now as most are for more advanced or customized block building. If you are interested in reading more about these, take a look at WordPress’ documentation.
Final register block code
Our code now looks something like this.
const { registerBlockType } = wp.blocks;

registerBlockType('awp/firstblock', {
	title: 'My first block',
	category: 'common',
	icon: 'smiley',
	description: 'Learning in progress',
	keywords: ['example', 'test'],
	edit: () => {
		return <div>:)</div>
	},
	save: () => {
		return <div>:)</div>
	}
});
With this we have enough for our block to be successfully registered as a custom block. Let’s see it in practice inside Gutenberg editor.
The PHP part of registering a block
For each block you need to register the Javascript file and this is just the same as you’d register any other scripts in WordPress – by using wp_register_script(). Note that we register the script, not enqueue it. This is because we also need to call a PHP function to register each custom block, and that function is responsible for enqueuing the script when it’s needed.
I prefer to keep Gutenberg-related code in a separate file in my themes. But you can, and we will in this tutorial, simply write all PHP code directly inside the theme’s functions.php for simplicity’s sake.
I recommend using the init hook for your function, and not enqueue_block_assets. We can put both registering the script and registering the block together.
functions.php
add_action('init', function() {
	wp_register_script('awp-myfirstblock-js', get_template_directory_uri() . '/assets/js/gutenberg/block-awhitepixel-myfirstblock.js');

	register_block_type('awp/firstblock', [
		'editor_script' => 'awp-myfirstblock-js',
	]);
});
The PHP function we’ll use for registering a new block is register_block_type(). Similarly as Javascript’s registerBlockType() it accepts two parameters; the block’s namespace and name, and an array with arguments. Make sure you provide the exact same namespace and name in PHP as in Javascript.
In the second argument there are a few possible arguments (some of which we’ll come back to later in this series). But the most important one is editor_script where you provide the handle (first parameter of wp_register_script()) of the registered script.
And that’s it!
Our block in Gutenberg editor
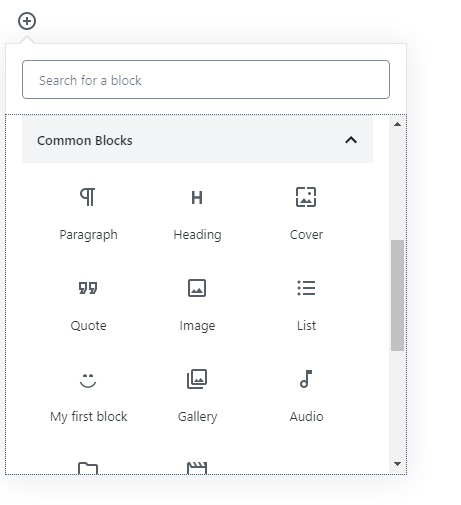
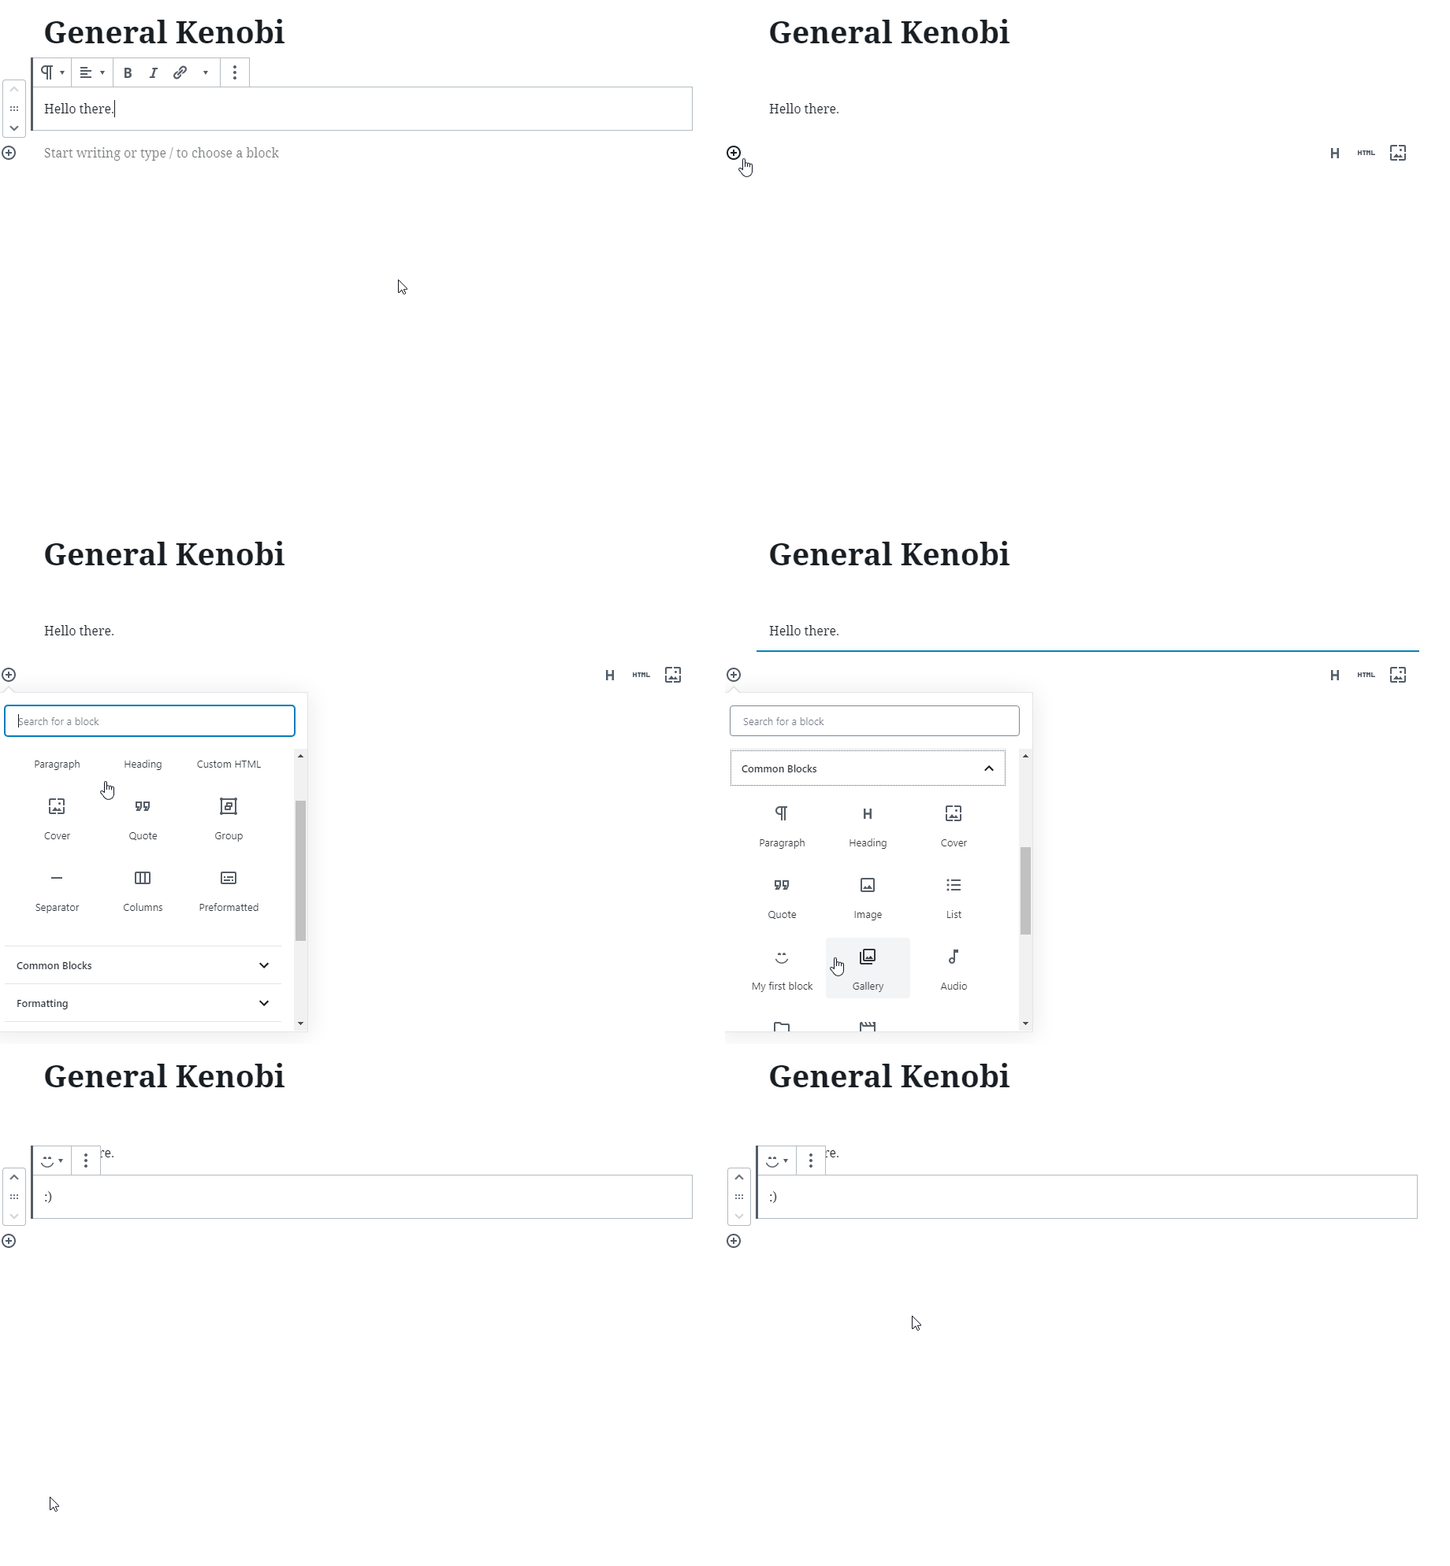
Now when you refresh your editor in some post you should find our block – either by opening Common category, or by searching for any of the keywords or name you provided.


Our block renders a simple “:)” both in the editor and in frontend. As of now you can’t edit anything in the block, but that’s what we’ll learn in the next steps!