
This lesson covers how to add two core WordPress features to our theme; menus and widget areas. We learn how to register a location for a site main navigation menu and output the menu in our templates, as well as allowing adding widgets in our sidebar and footer area.
The keen of you might have noticed that neither “Menus” nor “Widgets” are accessible from “Appearance” menu in admin panel. This is because our theme doesn’t support these yet. We will fix that in this lesson – starting with menus.
WordPress menus
There are two parts in adding menus in your theme. First you need to define one or more menu locations in your functions.php. An example is a main menu are which will be in header of all pages. The second part is adding some code in that place you want the menu to output. For example in header.php in the place you want to place the main menu.
Registering a menu location
In this tutorial we will add one menu location for the site’s main navigation, and place its output in our header.php. Let’s start with registering the location in functions.php, which is done by using the function register_nav_menu:
functions.php
add_action('init', 'wptutorial_register_menu');
function wptutorial_register_menu() {
	register_nav_menu('main-nav', __('Main Navigation', 'wptutorial'));
}
We need to hook onto the hook init, which WordPress has decided is a good “checkpoint” for registering menu locations. Inside our function we call register_nav_menu() which accepts a miniumum of two parameters; the menu handle which is an unique slug which you will use as an identifier when rendering the menu, and the visible name of the menu that appears in admin panel. Note that I wrapped the name inside __() in order to make it translatable, as we learned in the previous step.
If you refresh your admin panel, you should now see a new submenu item under “Appearance”; “Menus”. Congrats, your theme now supports creation of menus!
If you are not familiar with making and administrating menus in WordPress, this is a good guide for you.
Create a new menu in “Appearance > Menus” – it can contain whatever you want, I just added the dummy posts I had created in my WordPress.
After you save your first menu, a new section called “Menu Settings” will appear below your menu edit area, which allows you to choose a location for this menu. It should list one available location, which is the one we made; “Main Navigation”.
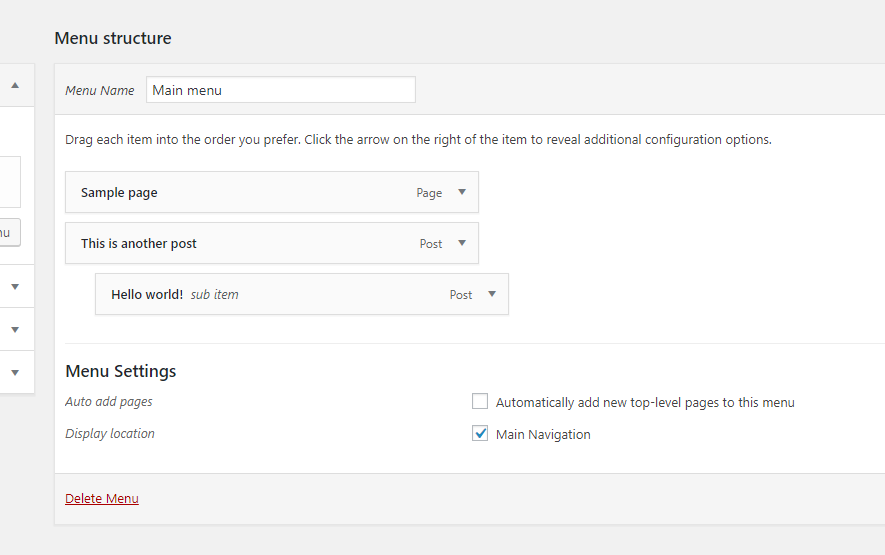
Place a check in “Main Navigation” and hit Save. Now your newly created menu is connected to the location and will be displayed automatically wherever you add the code to output this menu location. Let’s do that now.
Outputting a menu location in a template
Open up header.php and wherever you want the menu output to be, add a call to wp_nav_menu(). This function accepts a whole bunch of arguments in an array to really customize the menu output. Most importantly we need the parameter which tells it to fetch the “Main Navigation” location. To do that we add the argument ‘theme_location‘ and set it to the handle of our menu; ‘main-nav‘.
I added the menu output right after the start of the <body> tag, but if you have fleshed out your templates with HTML, decide for youself where you want the menu to appear.
header.php
...
<body <?php body_class(); ?>>
	<nav class="main-nav"><?php wp_nav_menu(['theme_location' => 'main-nav']); ?></nav>
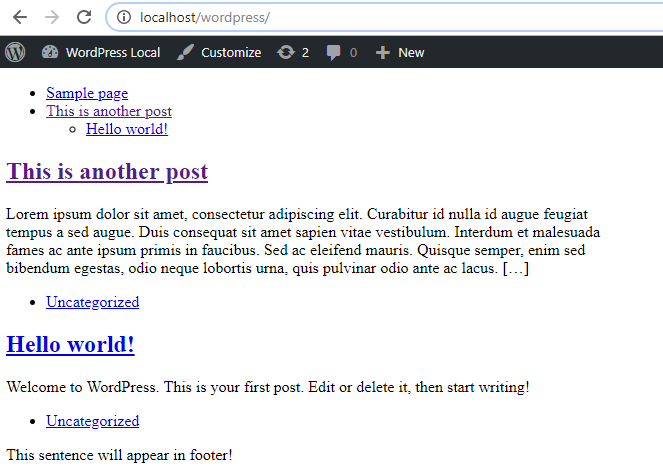
Refresh your frontend and you should see the menu you created in admin outputted as an unordered list at the beginning of the template.
As usual, I encourage you to dig a little deeper into the parameters to wp_nav_menu in WordPress Codex documentation for it and play around with how you want the output to be. For example: you can make it not output in a HTML list, you can limit the menu items to only certain levels (to prevent submenus), and more.
If you are curious about the styling part; take a look at the classes WordPress automatically adds to each menu item. You will be able to easily add styles for active menu item, items that has children items, parent item of an active child item, etc.
Note: Any theme user can always create multiple menus and choose to display these outside a theme’s registered locations using widgets. However, in order to do this, your theme needs to define some widget areas! Let’s do that next.
Widget Areas
Widget areas work pretty similar in how menus work. You register a location (for widgets you define an area where the theme user can place widgets in), and wherever you want the location/area to appear in your templates you add a bit of code that refers to the handle id you provided in your registration code.
Let’s define a widget area in our sidebar and one in footer. It’s common for themes to provide multiple widget areas in footer in order to split them nicely into columns, but in this tutorial we’ll just add one to the footer.
Widget areas are referred to as “sidebars” in WordPress code, but it’s not exclusively for the old-times right sidebar in websites. It seems like some legacy name just stuck around from a time where web sites usually only had a widget area in the sidebar. Don’t think that “sidebars” can only refer to actual sidebars.
Register widget areas
We start by registering two widget areas in our functions.php. We use the funtion register_sidebar to register our sidebars, hooked onto widgets_init hook, which WordPress has defined as the best hook to register widget areas (and custom widgets).
functions.php
add_action('widgets_init', 'wptutorial_register_sidebar');
function wptutorial_register_sidebar() {
    register_sidebar([
		'name' => __('Sidebar Widget Area', 'wptutorial'),
		'id' => 'sidebar-area'
    ]);
    register_sidebar([
		'name' => __('Footer Widget Area', 'wptutorial'),
		'id' => 'footer-area'
    ]);
}
The register_sidebar() function accepts quite a bit of arguments, as minimum you need the ‘id’ and the ‘name’ argument. There are parameters available to define how you want the widget HTML wrappers to be outputted.
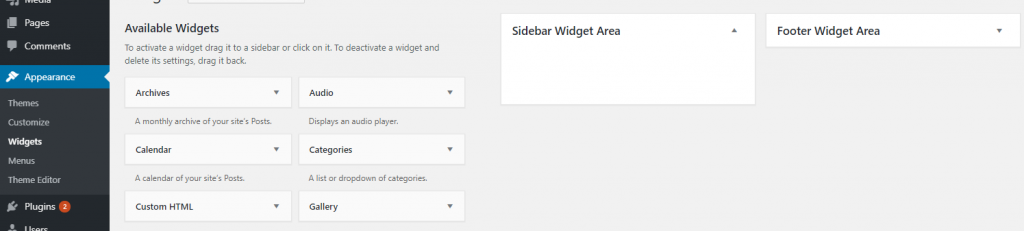
Refresh your admin panel, and you should now see the menu item “Widgets” appear under “Appearance”. In “Widgets” admin panel you can see two available widget areas in the right area; which is our “Sidebar Widget Area” and “Footer Widget Area”.
Place a random widget in our Sidebar or Footer Widget Area, just so you can see it in action.
Outputting a widget area in a template
The last part is outputting the widget areas to our templates. To do this we use the function dynamic_sidebar() and provides the handle as parameter. Open up sidebar.php and add the following inside the <aside> tags:
sidebar.php
<aside class="sidebar">
	<ul><?php dynamic_sidebar('sidebar-area'); ?></ul>
</aside>
Notice that I wrapped it inside an unordered list tag (<ul>). This is because as default dynamic_sidebar ouputs all widgets wrapped in <li> items. I encourage you to play around with the output parameters if you don’t like widgets being a list.
As for the footer, we add it in the very start of footer.php, wrapped inside a <footer> tag (if you wish).
footer.php
	<footer>
		<ul><?php dynamic_sidebar('footer-area'); ?></ul>
	</footer>
	<?php wp_footer(); ?>
...
That’s it for menus and widget areas. Your theme now has the flexibility of the user to create a new menu and use a widget to display it in the sidebar or footer. In the next lesson in this tutorial series we will create more templates to our theme.