
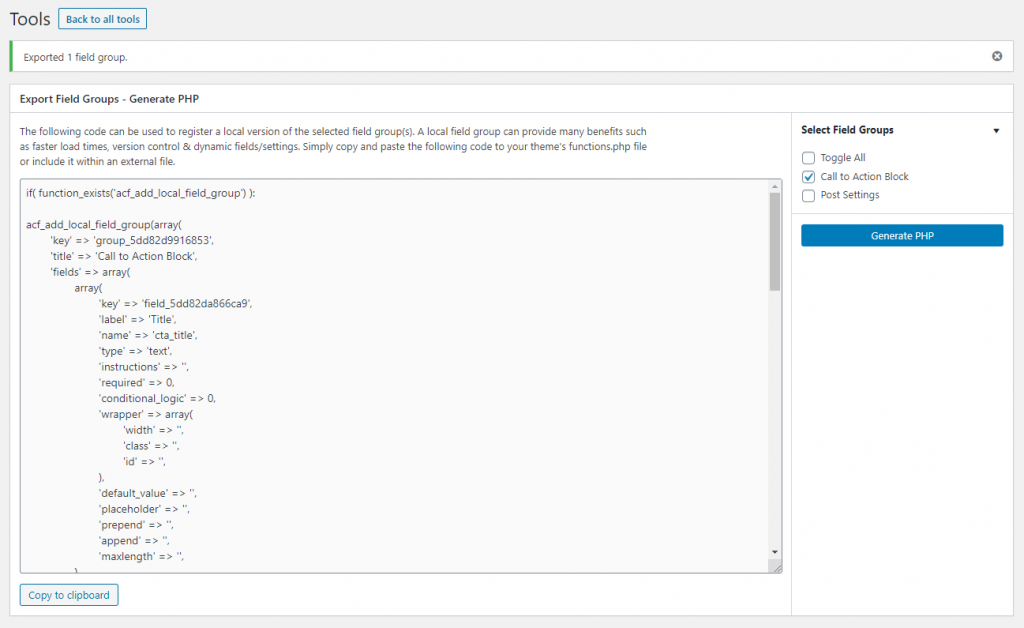
The plugin Advanced Custom Fields (ACF) supports fully setting up fields and groups by PHP code in your theme or plugin. The benefits of doing this is that all your fields will be available regardless of WordPress instance you’re working on (for example if you need to switch between local, test server, and live server). You can set all fields up in ACF’s admin, and use the export tool to export it to PHP.
However if you do this frequently you might notice that ACF’s PHP export contains a lot of code making your PHP files unecessary long. In some cases it’s better to write the code yourself, with the bare minimum needed, for cleaner code in your theme or plugin. This guide aims to provide you a complete reference for how to manually write out adding ACF fields and groups in PHP. Please note that it won’t go into detail about each field type as it assumes you already are familiar with the different fields possible in ACF.
But first; some precautions
To maintain good code standards and ensuring your WordPress site won’t crash you should always check if the functions or classes your code is using actually exists. Especially when it comes to plugins that can be easily deactivated or not even installed on a site, you should always wrap your plugin-specific code in a if-test that checks if the functions you use exist, before you use them.
As for ACF you can do it by checking if the class 'acf' exists or if the function for adding fields and groups, 'acf_add_local_field_group', exists. Wrap either one of those around the code below.
if (function_exists('acf_add_local_field_group')) {
	// Your ACF specific code here
}
// OR:
if (class_exists('acf')) {
	// Your ACF specific code here
}
Skeleton code
For adding meta boxes (groups) and fields we use the hook named acf/init. Inside the function we call the function acf_add_local_field_group() with an array as parameter. Inside that array is the complete setup for the group and all its fields. The most important ones are the array keys 'fields' and 'location'. For array key 'fields' you provide the array for all fields, and for the key 'location' you provide the settings of where the metabox should appear. This post will go into detail of what possible options you have for each of these below.
This is the bare minimum of adding a group, apart from the fields and location:
add_action('acf/init', function() {
	acf_add_local_field_group([
		'key' => 'group_my_fields',
		'title' => __('My fields', 'txtdomain'),
		'label_placement' => 'top',
		'menu_order' => 0,
		'style' => 'default',
		'position' => 'normal',
		'fields' => [],
		'location' => [],
	]);
});
Each group needs an unique key, but the actual name itself doesn’t matter much (for us). If you are adding more groups, don’t forget to change the 'key' field. The metabox title can be set in the array key element, you guessed it, 'title'. If you are adding multiple metaboxes in the same location (e.g. in post edit), you can control which comes first by providing different numbers in 'menu_order'.
You can control the metabox design by providing either default eller seamless in 'style'. However with the new Gutenberg editor this has a much less significance. The same goes for the key 'position' where in the old days you could position the metabox below the post content ('normal'), on the side ('side') or right after the post title ('acf_after_title').
Alright! Let’s dive into the two more interesting elements of the array; starting with the location – that defines where the metabox appears.
Location
This is all about what you put into the key 'location'. But before we look into the possible options we need to understand its array structure.
'location' accepts an array with an array of elements in an array! Hold up. Yes, because it’s possible to provide and combine AND and OR logic in location (e.g. “show in post edit but not if post type is ‘book'”, or “show in user edit screen and also create new user screen but for both cases not if current role is author”). The way you signify if it’s an AND or an OR is by structuring the arrays. It’s much easier to show than to explain in words:
This is how you combine two location elements with AND logic (both of these must be true):
'location' => [
	[
		[
			// location 1
		],
		[
			// location 2
		]
	]
]
And this is for combining locations with OR logic (only one needs to be true):
'location' => [
	[
		[
			// location 1
		]
	],
	[
		[
			// location 2
		]
	]
]
See the difference?
OK, let’s move on. Each location option consists of an array of three elements; 'param' which is where we add all the different locations, 'operator', and 'value'. Operator is how to compare the value, and it can be '==' for equal or '!=' for not equal to.
Let’s go through the possible options one by one.
Location by post type
[
	'param' => 'post_type',
	'operator' => '==',
	'value' => 'post'
]
Set your desired post type in 'value'. Keep in mind that you cannot provide an array of multiple post types, you have to combine multiple of these arrays in an AND configuration.
Location by post status
[
	'param' => 'post_status',
	'operator' => '==',
	'value' => 'publish'
]
Set your desired post status as 'value'. Again, keep in mind that you cannot provide an array of multiple post statuses, you’ll need to provide each desired value in an AND or OR configuration.
Location by page template
[
	'param' => 'page_template',
	'operator' => '==',
	'value' => 'template-name.php'
]
This shows only if the selected page (or custom post type with page template support) has chosen provided page template name.
Location by assigned taxonomy term
// Post category only
[
	'param' => 'post_category',
	'operator' => '==',
	'value' => 'category:some-category-slug'
]
// Any taxonomy
[
	'param' => 'post_taxonomy',
	'operator' => '==',
	'value' => 'my_custom_taxonomy:some-category-slug'  // <taxonomy name>:<term slug>
]
This location is for when a post has a specific term assigned to it. You’ll need to provide the taxonomy name, a colon, and the term’s slug as value.
Location by page type
ACF groups special properties for pages as “page type”. It mostly concerns whether or not the current page is a parent or child page, but also for targeting pages set as WordPress frontpage or blog page.
// Front page
[
	'param' => 'page_type',
	'operator' => '==',
	'value' => 'front_page'
]
// Posts page
[
	'param' => 'page_type',
	'operator' => '==',
	'value' => 'posts_page'
]
// Top level page only
[
	'param' => 'page_type',
	'operator' => '==',
	'value' => 'top_level'
]
// Top level page that has children
[
	'param' => 'page_type',
	'operator' => '==',
	'value' => 'parent'
]
// Children level pages
[
	'param' => 'page_type',
	'operator' => '==',
	'value' => 'children'
]
Location: taxonomy
A location for when editing or adding a term in a taxonomy.
[
	'param' => 'taxonomy',
	'operator' => '==',
	'value' => 'category'  // Or 'all' for all taxonomies
]
Provide the taxonomy name as 'value'. Keep in mind that you cannot provide an array of multiple taxonomies, but you can provide 'all' to target all taxonomies.
Location: user
This location is for adding or editing a user profile.
[
	'param' => 'user_form',
	'operator' => '==',
	'value' => 'all'  // 'edit' || 'register'
]
Provide 'edit‘ to only target the screen of editing existing users, 'register' to target only the form when registering a new user, or ‘all' for both of the above.
Location: menu item
Since ACF 5.6 you can add field groups to menu items as well.
[
	'param' => 'nav_menu_item',
	'operator' => '==',
	'value' => 'all'
]
You can set value to all to apply the group to all menu items, or you can specify menus either by location (registered locations in your theme) or by menu ID. For location use 'location/<name>' – so for a location named ‘primary‘ you can set value to 'location/primary' to apply your group to a menu assigned to this location only. If you want to target a specific menu ID, set value to a string of that ID.
Location: widget
ACF even provides you a location inside widget settings without modifying the core widget code.
[
	'param' => 'widget',
	'operator' => '==',
	'value' => 'tag_cloud'  // or 'all' for all widgets
]
You can target all widgets with 'all' as 'value', or target a specific widget. You’ll need to know the “internal ID” of the widget that of which they are registered with.
Location: ACF Options page (Pro only)
With ACF Pro you can use ACF to set up custom admin pages.
[
	'param' => 'options_page',
	'operator' => '==',
	'value' => 'acf-options-myoptionspage'
]
Provide the name you set in acf_add_options_page‘s menu_slug as 'value'.
Location: block (Pro 5.8+ only)
ACF Pro (5.8+) has a feature for adding Gutenberg blocks with fields from ACF and controlling its output with PHP. Pretty nifty for those who haven’t dived into adding custom Gutenberg blocks and the required Javascript yet.
[
	'param' => 'block',
	'operator' => '==',
	'value' => 'acf/cta'  // or 'all' for all ACF blocks
]
Fields
Now we’re getting into the more interesting part; the fields themselves. ACF offers a (really) wide range of field types, and I’ll reiterate; this guide is not showing you what each field is and how they work or look like.
In the core array you provide for 'fields' in acf_add_local_field_group() you provide an array where each field is its own array.
The absolute minimum required for each field are as following: an unique 'key' which can be anything you want and you probably won’t ever need to refer to it. You also need 'name' which is the (post, user, term) meta key in which the value of the field is saved as – and this is the one you will refer to when getting the value of the fields. You should provide a 'label' and finally the crucial 'type' which defines which field type we are handling. The rest of the fields depends on 'type' as we’ll see when we go through each field type below.
This is the skeleton code for adding a field.
'fields' = [
	[
		'key' => 'field_my_field',
		'label' => __('My field', 'txtdomain'),
		'name' => 'my_field',
		'type' => 'text',
	]
]
Keep in mind that you’ll need the above for each field, but as to not repeat the same code, each field type below will only include 'type' and any other elements needed for that field type.
Field: Text input
The simplest field of all. All we really need is:
[
	'type' => 'text',
]
But to further customize your text input you can also provide any of the following:
[
	'default_value' => 'Default value',
	'prepend' => 'Prepend text',
	'append' => 'Appended text',
]
Field: Number input
[
	'type' => 'number',
	'min' => 0,
	'max' => 100,
	'step' => 1,
	'default_value' => 'Default value',
	'prepend' => 'Prepend text',
	'append' => 'Appended text',
]
Field: Textarea
[
	'type' => 'textarea',
	'rows' => 5,
	'new_lines' => 'wpautop',  // 'br' || ''
	'default_value' => 'Default value',
]
Field: Range slider
[
	'type' => 'range',
	'min' => 0,
	'max' => 100,
	'step' => 1,
	'default_value' => 50,
	'prepend' => 'Prepend text',
	'append' => 'Appended text',
]
Field: Password
Same as text input, except that anything you type into it will be covered with * as you’d expect in a password field.
[
	'type' => 'password',
	'prepend' => 'Prepend text',
	'append' => 'Appended text',
]
Field: Image
Single image select.
[
	'type' => 'image',
	'return_format' => 'array',  // 'id' || 'url'
	'preview_size' => 'thumbnail',
]
Field: File
Similar to image above, except that it doesn’t preview the file.
[
	'type' => 'file',
	'return_format' => 'array',  // 'id' || 'url'
]
You can also provide 'mime_types' => '', and set it to e.g. 'pdf,docx' for only allowing PDF and DOCX files.
Field: WYSIWYG Editor
WYSIWYG is a “What You See Is What You Get” editor – the one we were familiar with before Gutenberg came (TinyMCE).
[
	'type' => 'wysiwyg',
	'tabs' => 'all',  // 'visual' || 'text'
	'toolbar' => 'full',  // 'basic'
	'media_upload' => 1,
	'delay' => 0,
]
The parameter 'media_upload' and 'delay' can be 1 (true) or 0 (false).
Field: Select
[
	'type' => 'select',
	'allow_null' => 1,
	'multiple' => 0,
	'ui' => 1,
	'return_format' => 'value',  // 'array' || 'label'
	'choices' => [
		'red' => __('Red color', 'txtdomain'),
		'blue' => __('Blue color', 'txtdomain')
	],
	'default_value' => 'red',
]
Field: Checkbox
[
	'type' => 'checkbox',
	'layout' => 'horizontal',  // 'vertical'
	'toggle' => 0,
	'return_format' => 'value',  // 'array' || 'label'
	'choices' => [
		'red' => __('Red color', 'txtdomain'),
		'blue' => __('Blue color', 'txtdomain')
	],
	'default_value' => ['red'],
	'allow_custom' => 1,
	'save_custom' => 0,
]
Note that 'default_value' can be array of multiple choices.
Field: Radio Button
[
	'type' => 'radio',
	'layout' => 'horizontal',  // 'vertical'
	'allow_null' => 0,
	'return_format' => 'value',  // 'array' || 'label'
	'choices' => [
		'red' => __('Red color', 'txtdomain'),
		'blue' => __('Blue color', 'txtdomain')
	],
	'default_value' => 'red',
	'other_choice' => 1,
	'save_other_choice' => 0,
]
Setting 'other_choice' to true adds an extra radio button labeled “Other” with a text input where the user can type something.
Field: True/false (toggle)
[
	'type' => 'true_false',
	'message' => __('Text after toggler', 'txtdomain'),
	'default_value' => 1,
	'ui' => 1,
	'ui_on_text' => __('Yes', 'txtdomain'),
	'ui_off_text' => __('No', 'txtdomain'),
]
The 'ui_on_text' and 'ui_off_text' is only valid if 'ui' is 1, as they are defining what should appear on the special UI toggler.
Field: Link
Gives you a button to enter a link, either by typing or choosing from content in your WordPress site (should be familiar from adding a link in the normal WordPress editor).
[
	'type' => 'link',
	'return_format' => 'url',  // 'array'
]
Field: Post Object
Gives a select box where you can choose from WordPress content. The select allows you to search by typing in and all content is divided by post type. You can allow multiple posts to be chosen or just one.
[
	'type' => 'post_object',
	'allow_null' => 1,
	'multiple' => 0,
	'return_format' => 'object',  // 'id'
	'post_type' => '',  // or array of post types e.g. ['post', 'page']
	'taxonomy' => '',  // or array of terms e.g. ['category:term-slug']
]
Field: Relationship
[
	'type' => 'relationship',
	'return_format' => 'object',  // 'id'
	'post_type' => '',  // or array of post types e.g. ['post', 'page']
	'taxonomy' => '',  // or array of terms e.g. ['category:term-slug']
	'elements' => ['featured_image'],  // or ''
	'filters' => ['search', 'post_type', 'taxonomy'],
]
Field: Choose terms in a taxonomy
Taxonomy term selector has four different “modes” or types where two of them allows for multiple choices.
[
	'type' => 'taxonomy',
	'return_format' => 'object',  // 'id'
	'taxonomy' => 'category',
	'field_type' => 'select',  // 'checkbox' || 'radio' || 'multi_select'
	'add_term' => 0,
	'save_terms' => 0,
]
Field: Select user
[
	'type' => 'user',
	'return_format' => 'array',  // 'object' || 'id
	'role' => '',  // or array of roles, e.g. ['author']
	'allow_null' => 1,
	'multiple' => 0,
]
Field: Google Maps
[
	'type' => 'google_map',
	'center_lat' => '59.917',
	'center_lng' => '10.727',
	'zoom' => 14,
	'height' => 350,
]
Keep in mind that you need to provide a valid GoogleMaps API key to ACF for this field to work, like so:
add_filter('acf/fields/google_map/api', function($api) {
	$api['key'] = 'YOURAPIKEY';
	return $api;
});
Field: Datepicker
[
	'type' => 'date_picker',
	'display_format' => 'd/m/Y',
	'return_format' => 'Y-m-d',
	'first_day' => 1,
]
Field: Date Time picker
[
	'type' => 'date_time_picker',
	'display_format' => 'd/m/Y H:i:s',
	'return_format' => 'Y-m-d H:i:s',
	'first_day' => 1,
]
Field: Time picker
[
	'type' => 'time_picker',
	'display_format' => 'H:i',
	'return_format' => H:i',
]
Field: Colorpicker
[
	'type' => 'color_picker',
	'default_value' => '',  // or any hex code, e.g. '#FFFFFF'
]
Field: Gallery (ACF Pro only)
[
	'type' => 'gallery',
	'return_format' => 'array',  // 'id' || 'url'
	'preview_size' => 'thumbnail',
	'insert' => 'append',  // 'prepend'
]
Special types of fields
ACF also offers some field types that does not save a value per se, but they are more for organizational puposes. For all of these set 'name' to an empty string.
HTML Message
If you need to simply print out some HTML without it actually saving a value, you can use type 'message'.
[
	'type' => 'message',
	'message' => '<p>Your HTML here</p>',
	'new_lines' => 'wpautop',
	'esc_html' => 0,
]
Repeater (ACF Pro only)
A repeater holds an array of fields which can be repeated.
[
	'type' => 'repeater',
	'layout' => 'table',  // 'block' || 'row'
	'button_label' => __('Add new', 'txtdomain'),
	'sub_fields' => [],
]
The element sub_fields expects an array of fields, just like you’ve set up fields above.
Conclusion
This is by no means an exhaustive guide as ACF offers such a wide range of options and customizations. But it should cover the most used options and custom use-cases. Peronally I find myself referring to this quite often whenever I add ACF fields for clients. And even for the most strange options this guide is sufficient enough so that I won’t need to bloat my PHP files with ACF’s export code. I hope this has been useful for you too!